FIRING METHODS | PART TWO
Forge-Fired Mokume Gane
by Robert Coogan

Mokume gane sheet by Robert Coogan. Copper and fine silver.
GAS FORGE FIRED MOKUME
I learned the basic process of Mokume-Gane from Gene and Hiroko Pijanowski in the late 1970s. We fired our billets in a traditional blacksmith's coal forge and created an oven by bricking up the edges and layering a plate of steel on top to reflect the heat back into the chamber. It was fired with a mixture of coke and hardwood charcoal. This mix provided the correct atmosphere so that the metals would not oxidize before fusing together. We used torque plates like I still use today and forged everything by hand.
Since then, I’ve modified the materials and techniques to suite my own needs and equipment, which I will detail later. By working in a blacksmith’s shop, I can make larger billets and reduce them to workable stock in a relatively short period of time. The average time needed to clean, fuse, and forge down a billet ready for patterning is about two hours. Patterning and reducing to sheet can take from a few hours to a few days depending on technique and patterns desired. A basic billet of 21, 2" X 2" X16-gauge layers will yield approximately 67 square inches of 16-gauge patterned mokume-gane. Expect to lose 20% or more in trimming the edges and patterning.
Metal
With the Pijanowskis, I worked mainly in copper and kuromido. They fuse well together and, when patinated, they color a rich reddish-brown and blue-black. Kuromido became very difficult to get (from Japan), so I started playing with metals readily available in the U.S. I believe the best metals to use are pure metals. They offer fewer complications, although you must still assess their compatibility.
You should know the specific make-up of each alloy you are using to get consistent results. Brass, sterling silver, nickel silver, and other alloys readily available can be used, but are much more problematic. Each of these metals, when layered with copper, has unique fusing points and working temperature ranges. For instance, sterling silver is hot-short. In other words, if it is struck with a hammer when it’s glowing red, it is likely to crack. It forges better at a black heat. A black heat is just after the red glow disappears. My favorite metals to use are copper and fine silver. They fuse at a relatively low temperature, are very malleable, forgiving, and offer great contrast, even without a patina. For this article we will be discussing a mokume billet made of copper and fine silver.
Preparation of the Billet
A manageable billet to start with would consist of 21 2" X 2" square sheets of 14-16 gauge dead flat metal. Use eleven copper and ten fine silver sheets. The uneven number gives you the same metal, copper, on the top and bottom of the billet. Anneal the metal to make sure it is soft, and flatten if necessary. This ensures that, when stacked, the metal plates will all compress tightly together and prevent oxidation between the layers.
Anneal on a clean, flat, fire brick or soldering board. Pickle, then scrub each piece clean with pumice and a ScotchBrite pad. At a sink, spray a degreasing cleanser like Fantastik on the ScotchBrite to wet it, then dip in pumice. Hold the pieces by their edges only and scrub. My students use surgical gloves to keep from touching the metal. (Now, why didn’t I think of that?) Rinse under clean running water. They are clean when the water “sheets” across the surface as you rinse it. Clean five or six pieces at a time, then dry them off and begin to stack. It is better to overclean the metal, than have the billet fail because the metal was dirty. The sheets will NEVER fuse if they are dirty or oxidized.

Photo: TTU Photo Services.
Alternately stack the sheets of metal on a prepared 1/4" X 3" X 3" steel plate that has been pre-drilled on each edge and coated with yellow ocher. This prevents the copper sheets from fusing to the steel. When drilling the bolt holes in the steel plates, make sure they are centered along the middle of each edge of the sheet, not in the corners. You want about a 1/8" clearance between the billet and the bolts.
After stacking, place a second 1/4" steel plate (also coated with yellow ocher and drilled to match) on the top of the stack. Bolt the two steel sheets together with four 2" x 1/4" hexagonal bolts and nuts. Use non-galvanized bolts, as the zinc coating could potentially contaminate the billet when it burns off in the forge. Tighten with two wrenches. You want it snug, but if you overdo it, you can break the bolts. The main point is that the bolts need to be tight, not forced. Make sure the billet edges stay lined up and that the billet is sitting in the center of the steel plates. Even pressure and heating are the key. As the billet in the torque plates heats, it will expand to create even more pressure that will aid in the bonding of the layers.
The Forge
Rather than a coal forge, I have switched to a commercial gas forge manufactured by Manckle. I have built some simple gas forges in the past using stacked fire bricks, kiln shelves, a blower, and standard pipe fittings. These forges have generally been thrown together and usually have left a lot to be desired. Although they worked, I recommend commercial forges which start at a few hundred dollars and are available from blacksmithing and knife-making suppliers. If you want to make your own, plans to build a nice gas forge are available from ABANA (Artist-Blacksmith’s Association of North America).
Gas forges generally are fired by propane or natural gas. Each one requires a different orifice for the burner. If you are unsure about what you need, I have found the local gas company to be very helpful. They might not understand exactly what you are trying to do, but they have always worked hard to help me solve gas-related problems the right way. I use the same propane-fired forge for forge-welding steel and for mokume gane. It offers a consistent heat and a controlled reducing atmosphere. It is also a lot cleaner than a coal forge and can be fired anywhere. My forge is hooked to a large tank, but it could run on the 5 gallon bottles that supply your home barbecue.
Firing the Billet
Preheat the forge for about 1/2 hour. Brick-up, or close-off the opening after the forge is lit. This will enable the forge to heat faster and more evenly. After it’s warmed up, turn both the gas and air flow down. If left running the way I run my forge for steel, it would reduce my mokume billet to a puddle of silver alloy in no time. Faint flames coming out of the front of the forge and a glowing orange interior indicate about the right temperature (a yellow interior is too hot). Limit the amount of air going into the forge to maintain a reducing atmosphere, that is, one devoid of oxygen, to prevent oxidation of the metal.

Photo: TTU Photo Services.
Place the billet — level — in the middle of the forge. Use long, steel, blacksmith’s tongs to get a good grip on the top steel plate. You might want to practice moving the billet with the tongs, before putting it into the forge. Once in, watch the color of the steel plates and the stack of metal to gauge how evenly the metal is heating. If one area looks hotter than another, flip or rotate it as needed. Your eyes should roam across the billet and the steel plates constantly while it’s in the forge. This is very important! If one corner melts before the rest is ready, you will end up scrapping the entire billet. Depending on the forge, you might not have to move the billet at all. Normally, in my forge, I have to turn it over, and turn it around, several times.
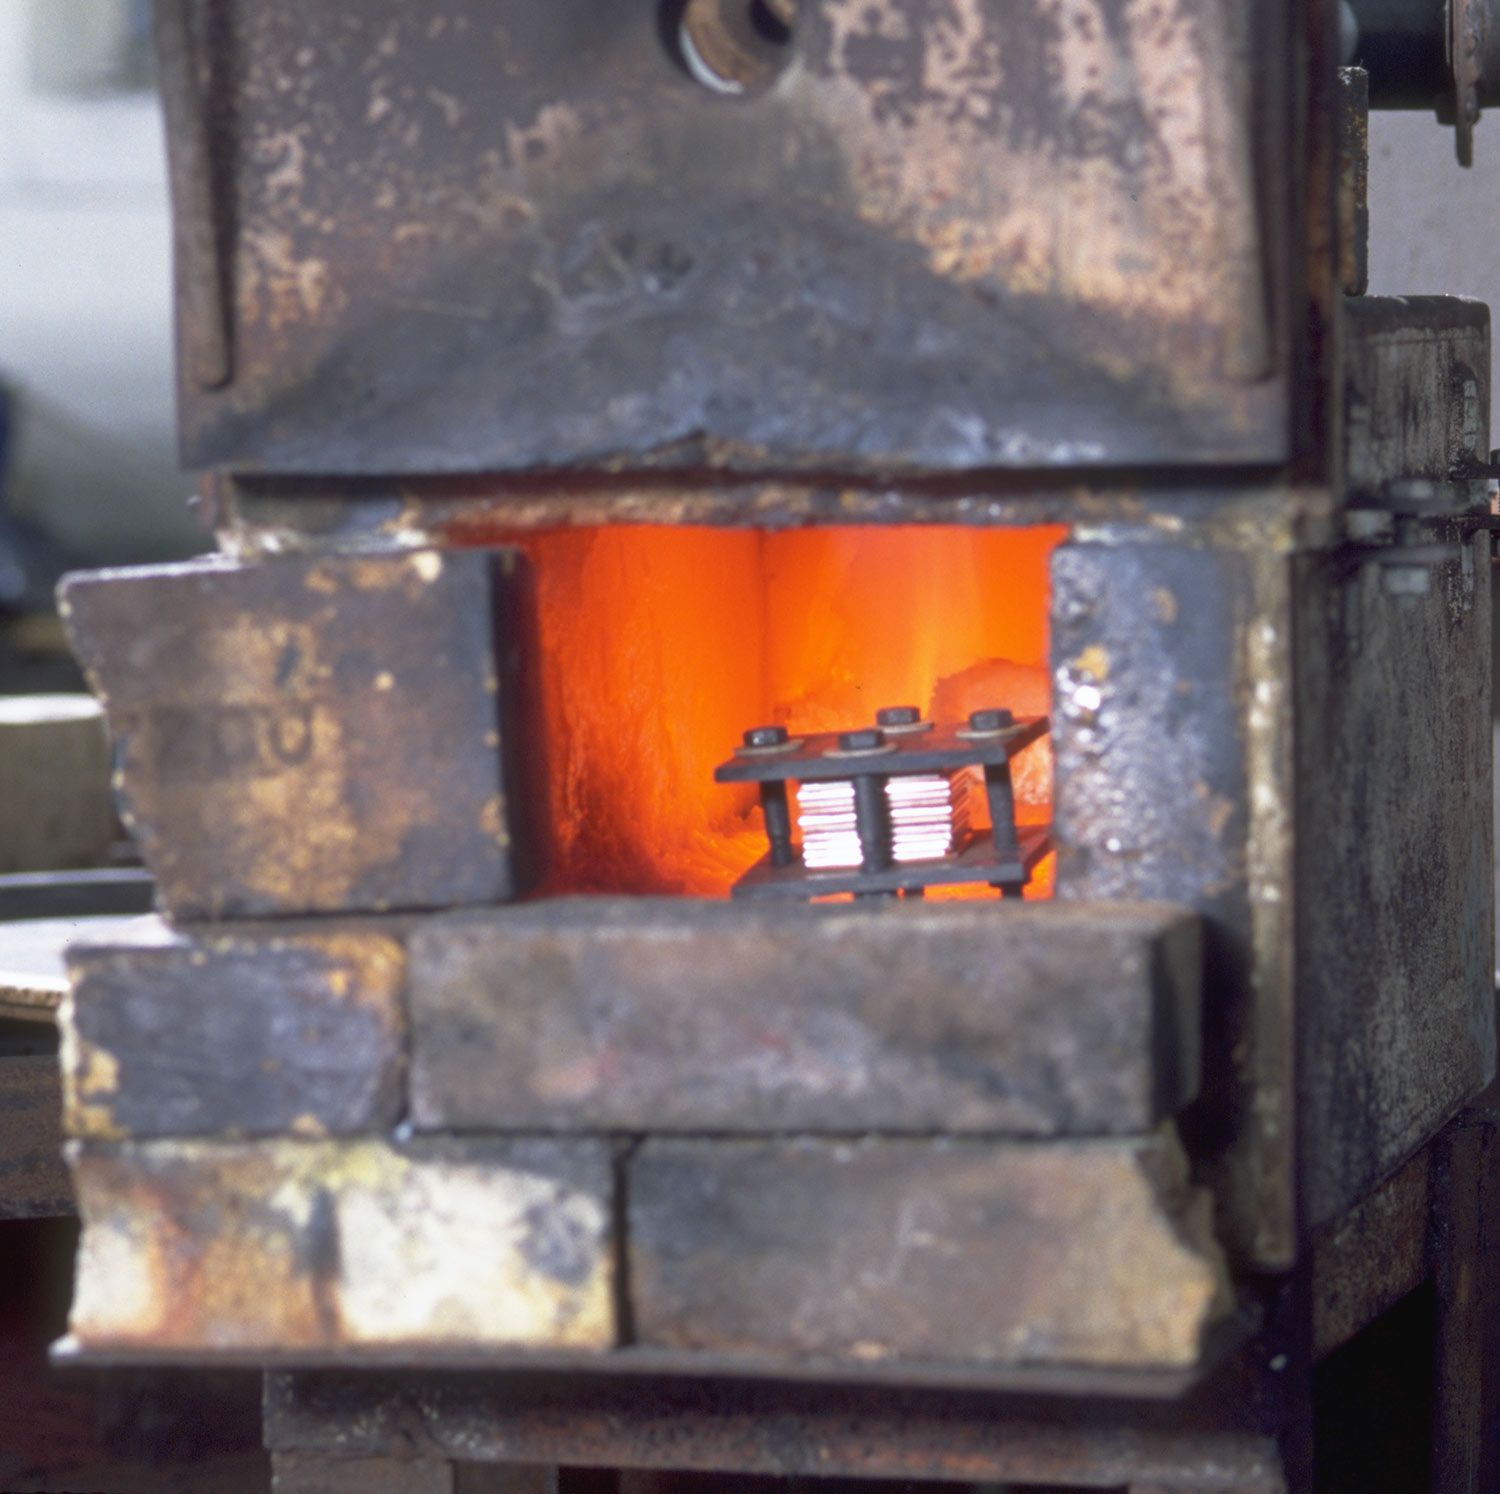
Photo: TTU Photo Services.
SAFETY NOTE: It is imperative that you wear some kind of tinted protective eyewear. The forge puts out a tremendous amount of UV rays. Prolonged exposure to these rays is known to increase the likelihood of cataracts and other eye problems. Even sunglasses would be helpful. Later when forging there is also the risk of getting molten metal sprayed on you. Protective clothing is needed i.e. heavy leather gloves, cotton or wool clothing, and leather shoes. I apologize for not wearing safety glasses in the photos. The photo lights made it impossible. Normally, I always wear tinted safety glasses in the smithy.
In a gas forge, it will take about 15 minutes to fuse the billet. It is better to take longer than to rush it. A longer time in a cooler forge means you’re getting even heat all the way through. If you rush, the outside edges of the billet could fuse before the interior has time to come up to the proper temperature.
Watch closely! As the billet starts to glow you’re close. Look out for what appears to be a shiny silver line between the metal sheets. It will look like a molten silver solder seam with the metal sweating or little beads of metal forming on the edge of the billet — PULL IT OUT! It is absolutely essential that you pull the billet out level and keep it level. If the silver is a little too hot, it will literally spill out if it gets tipped. Let the billet sit on an anvil until it is solid again. I let it rest about a minute.
Forging

Photo: TTU Photo Services.
Once it solidifies but is still glowing hot, use a large wooden dowel and a forging hammer to “set” the billet. To do this you place the dowel in the center of the steel plates and strike the wood with the hammer. It is easier with two people, one to hold the billet with tongs, and the other to forge. Hammer moderately, and evenly, moving the dowel across the surface of the steel plate. This helps create a better bond. At this time, only reduce the billet to the point where it is loose in the steel plates.
I unbolt the plates by placing the bolt heads in a vice and use a wrench on the nuts. Now take the bolts out and let the billet gently fall from between the steel plates onto the anvil. You will probably need different tongs now to grip the billet. I use 3 different pairs of tongs for the whole process. The first pair is long, about 2 feet, to reach into the forge. This pair will grip the 1/4 inch steel plate tightly. The second pair of tongs needs to hold the billet when it is first fused, and is about 1 to 1 1/4 inches thick. Once it is hammered to about 3/4 inch or less, you need a third pair of tongs that will take it down to about 1/4 inch. Each of these tongs has flat jaws to grip the top and bottom of the billet. Sometimes, I also use a pair of pick-up tongs. These have long, thin jaws and have a wider range of applications, but aren’t as strong. What ever happened to those magic tongs that would grip anything?

Photo: TTU Photo Services.
The billet must now be reheated in the forge to where it just starts to glow again. When I think it might be hot enough, I bring it out of the forge with the tongs and hold it in the shadow beneath the forge. This way I can see the true color of the metal. If I wait until the metal glows the same color as the fire in the forge, it’s too hot and might start to melt. Check it often until it heats to the correct temperature. This will anneal the fused billet and make it forge like butter. Hot forge it right from the fire. This can be done with a hand-forging hammer, a sledge hammer (if you have two people) or my favorite, a power hammer.
For hand forging, I use a two-pound, square-faced hammer. The square face is slightly crowned and polished. This hammer will move the metal quite rapidly and once you are used to it, you can forge leaving hardly any hammer marks. I do the initial forging in the blacksmith’s shop on a 150 pound (or larger) anvil. I would prefer the anvil to be polished, but for the initial forging, it really doesn’t matter. I finish out on a polished anvil. A fine silver and copper billet has an incredible forging range. You can forge it from just glowing, all the way to room temperature. It moves the best with a subtle glow to it. Bring the billet up to annealing temperature and while it is still hot, bring it to the anvil. Gripping the billet on one corner, hold the tongs next to and pointed into, the anvil. This lays about two-thirds of the billet on the anvil, ready to be forged.

Photo: TTU Photo Services.
You would do the same thing with a power hammer or a sledge. The biggest hammer you can use efficiently will move the metal the best. When hammering, keep your elbow in close to the body and swing the hammer in a straight up and down motion. Strike the billet. It doesn’t help any to hit the anvil or tongs. Normally, when working with a hand hammer, I will reduce the billet thickness about 1/8-to-1/4-inch before reversing my tongs to the opposite corner to even the thickness out. On the next heat, I hammer from the other side and the other two corners to help even out the internal stresses. When I use the hundred-pound hammer, I can reduce the billet to 3/8-inch-thick in two heats. There is nothing magical about the power hammer; it just puts out more force. The amazing part is that the metal can take it and move so quickly.
A word of caution: power hammers can be very dangerous. Get proper instructions before using one and be careful!
You can move the metal by forging a long way with each heat. You can’t anneal too often but you can cause delamination or cracking by not annealing often enough. Be careful not to re-melt the billet when annealing which can cause it to slide apart. What happens is that the metal at the bond interface melts at a lower point than either the copper or the silver. If overheated, this new alloy will liquefy and act like ball bearings between the sheets causing them to slide apart. If this does start to happen, DON’T PANIC! Pick up the billet with the tongs and bring it to the anvil, keeping it as level as possible. It will stop moving as soon as it solidifies. You can save these billets but you will lose a higher percentage of material. Stay focused.
Of all the billets I have done in fine silver and copper, including those of my students, we have only lost two. Both times it was from overheating, and not removing it from the fire immediately. Remember, if you are tired or can’t finish forging a billet, you can come back to it at a later time. It can also be forged cold. Forge the billet down to approximately 1/3 of its original thickness before cutting the ragged edges off with a bandsaw, or good hacksaw. The edges are removed to prevent any cracks that might be there caused by incomplete bonding. If allowed to remain, these cracks can run into the middle of the billet. Trimming the edges is where the greatest loss of material takes place.

Photo: TTU Photo Services.

Photo: TTU Photo Services.
Patterning
Once you have forged or rolled the billet to about 1/4" thick, you are ready to begin patterning. Of course, this depends on what you intend to do with the material. I like to stockpile it. I make the mokume billet when I have time and forge it a little. Then, I put it away until I’m ready to use it in a piece. This way I can pattern the mokume to suit the form of the piece I’m making.

Mokume gane sheet by Robert Coogan. Copper and fine silver.
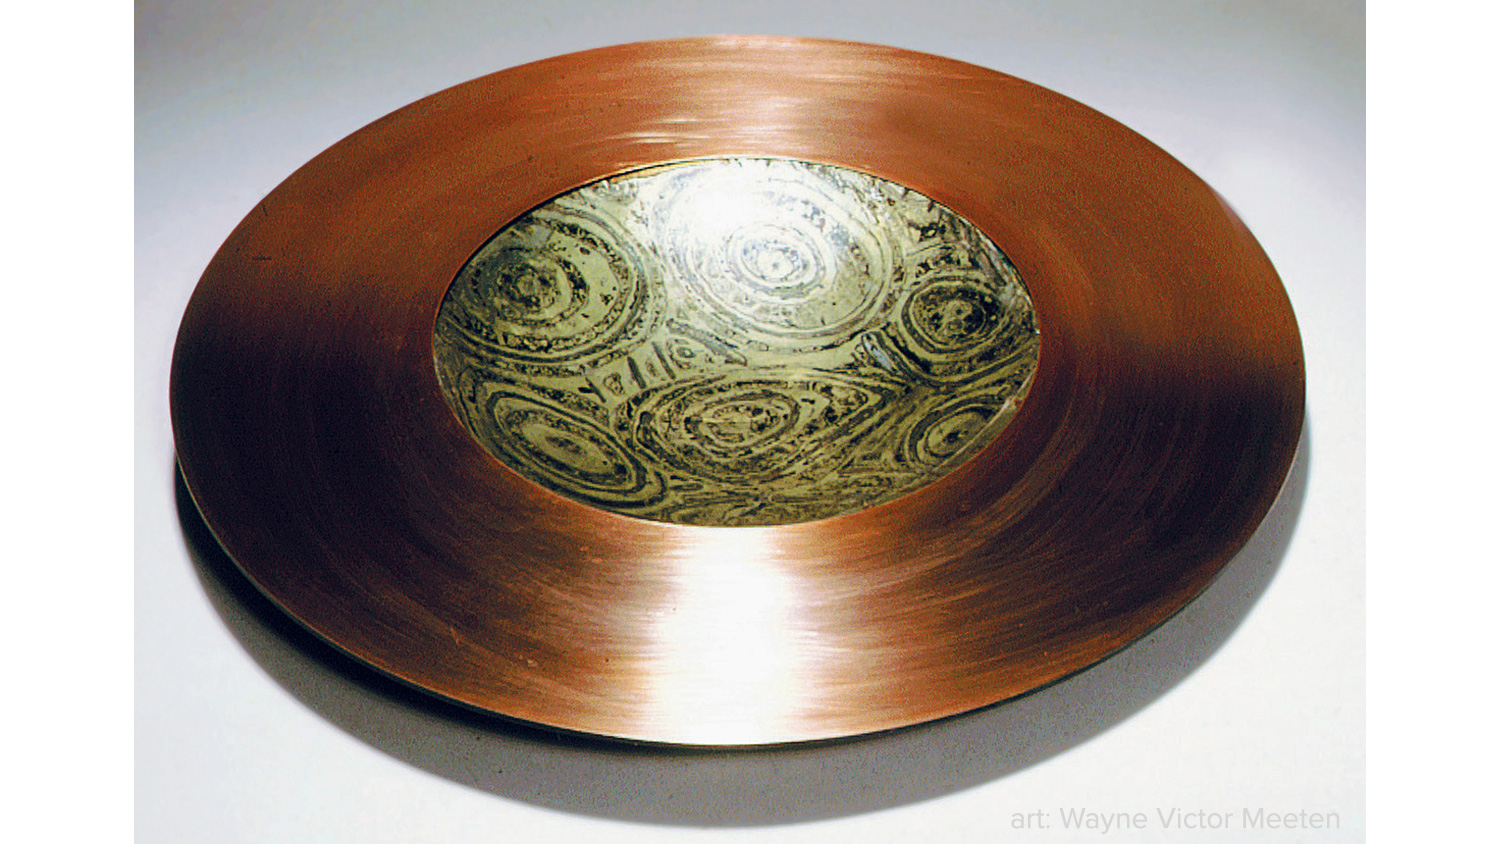
All the components in my work have a relationship. I try to work with the energy and rhythm of those components so they enhance my work. Wood grain has a flow to it as it follows the growth of the tree from which it came. I try to think of this same flow as I design my pieces and the patterns that will compliment them. For a couple of raised bowls, I have been able to pattern in such a way that the pattern flows from the center of the disc and radiates out to the edges. In my jewelry, I use the patterns to enhance the movement implied there. On knives, which are basically linear objects, I try to have the mokume enforce that movement, or sometimes, more dramatically, to break it up.
You can make an almost unlimited variety of patterns with mokume. I tend to mostly use hand processes like forging, twisting, cutting, and chiseling. For some of my knives, I have carved the guard out of a thick billet. This leaves a subtle, striped pattern in the mokume that one has to look at closely to see.

Knife, with Tonto style blade, by Robert Coogan. Damascus steel, copper, sterling silver, and kuromido with rosewood.
Another of my favorite techniques is to saw off a rectangular section of the billet and then forge it into a long rod. This section is usually the full length of the billet as wide as it is thick. Forging reduces its thickness and elongates it. When it’s to the right length and diameter, I hammer the bar round and twist (if you leave it square, it is more likely to crack on the corners due to uneven stresses). Then, I anneal, and twist some more. After twisting, I re-forge the rod square (this gives me a more uniform piece to work with and is less likely to crack when flattened), and then slice it down the middle. This creates the characteristic star pattern from the interior of the twist. Of course, the pattern from twisting alone or enhanced with other patterning methods can be great too.
I have forged spoons and other pieces out of mokume gane. It is fascinating to see the pattern change and flow as the form changes. All pattern-forging is done cold, and well-annealed. The billet is easier to handle cold, but could be worked hot. Until the piece gets so small that I can’t control it, I use the same 2-pound polished, forging hammer. For this work, I’m also using a 150-pound anvil with a polished face. It isn’t mirror-finished but sanded with a worn, 220 grit sanding belt. Some tooth to the surface keeps the work from sliding around.
I often work the metal to sheet form and then fabricate components for my pieces. For this, chiseling is my preferred method of patterning. Although it is more laborious than most other processes, it gives me greater control and a more organic look to the pattern. The bowls mentioned earlier were created by chiseling in a pattern of roughly one-inch squiggly lines radiating from the center. The pattern was carved into the surface four times as the metal was forged thinner in order to keep a tight pattern. I use a handmade "bullnose" chisel that makes a cut with a curved bottom.
I like a heavy chasing hammer to drive the chisel. When I’m feeling particularly aggressive, I use a 10-ounce ball peen hammer. A nice trick to help the chisel cut smoothly is to occasionally dip the point in a light oil. I hold the billet down with 2 C-clamps padded with rubber. It will twist in only one clamp. With this chisel, I carve channels to create a pattern that will flow across the sheet. The chisel will cut about 1/16" deep on each pass. (This of course depends on the chisel and who is using it!) I carve the pattern I want, usually one that will give me a controlled flow across the sheet. Then, I reduce the thickness by forging until most of my carving has been smoothed out and I can see where the pattern needs to be refined. I continue to carve the surface of the sheet, usually at least 3 times. (For more information on gouge patterning see chapter IX: Patterning.)
At this point, I can fabricate components pretty much the way any jeweler would, with one major exception. Guards for knives need to be fairly substantial. Rather than build them hollow and light as you would for jewelry, I make them solid. To do this, I laminate the patterned mokume to a 1/4-inch-thick sheet of brass and then band it with silver. This gives me both a solid look, and the pattern I want that couldn’t be achieved any other way. In the end, it is what you do with the mokume and how well it suits the finished piece that matters.
Making A Bullnose Chisel
by Robert Coogan
A bullnose chisel for gouge patterning is a fairly simple tool to make. Use a 1/4" X 4" piece of 01 drill rod, which can often be bought at a local hardware store or ordered from a machine tool supplier. File or grind one end to about a thirty-five degree angle. At the bottom of the leading end of the point, file about a ten degree bevel around this edge. At the same time, narrow the round point to about 1/8". This will give you a narrower cutting path. You can make these to cut whatever width you like and all the angles are approximate. On the opposite end of the chisel, grind an even taper until you have a round center of about 1/8". This will help to focus the hammer blow. I like to file grooves in the top along the spine of the tool to facilitate a better grip. More importantly, the lines tell me, without looking, which side is up. Once all the shaping is done, sand it to a 220-grit finish.

Now you’re ready for heat-treating. This is what will enable the tool to hold its edge. Hold the chisel with tongs or vice grips and heat the first inch of the cutting end to a bright red. When hot, plunge 2 inches into an oil bath. This could be olive oil or 10-weight motor oil. Move the chisel up and down in the oil, always keeping 1 to 2 inches under the surface. When it has cooled enough so that the oil won’t burn on the chisel, remove and set aside.
When it reaches room temperature, clean and sand it smooth again. Check for hardness by running a file across the hardened end. It should sound like it’s sliding across glass and should not cut the steel at all. If it does cut the chisel, you might not have gotten it hot enough or you may have the wrong steel — try again. If it is right, you now have to temper the chisel.
Tempering takes the brittleness out of it so it won’t break the first time you use it. This can be done in a toaster oven by baking at 350 degrees for one hour, or you can do it with a torch, which is a lot trickier and more challenging to your skills. Hold the clean, shiny chisel with cross-lock tweezers. Using the soft flame of a torch, start to heat it about one inch from the hardened cutting end. Heat colors will start to appear: first straw-yellow, then blue, etc. You want the straw-yellow color to stop on the tip. Watch it move slowly to the point. The trick is to pull the torch away and have the colors stop on their own. Some people re-quench when the tip reaches straw-color. I think it is a better tool if the colors stop on their own. If you go too far, the tool will be soft and you have to re-harden.
NEW LAYERS — WHAT WE’VE LEARNED SINCE
Forge-fired Mokume Gane Update from Robert Coogan

Mokume Gane Rose by Robert Coogan. Fine Silver and Copper.
I definitely prefer the forge for bonding mokume gane. First off, I am still a firebug. I love blacksmithing and forging where the key is fire control. You have to maintain the proper control of your fire to get an even heat. In the forge is where the magic happens and I have complete control of what takes place inside of it. Making mokume depends on my ability to know how to read the fire and know how hot the metal is. I control the temperature of the fire and turn the billet if the heat is uneven. It's all under my control and it depends on me to visually understand what is taking place within the forge. It pleases me to continue to work this way. I have constantly been amazed by what I can do with my hands. From the very first day when I picked up a piece of metal and a saw frame, I have loved the physical contact with the work.
I continue to use a gas forge for my source of heat. It is easy to maintain an even temperature inside. There are still hot spots within the forge, hence the need to turn and rotate the billet. To maintain a good even heat in a gas or coal forge starts with balancing the amount of fuel and air mixed together. My gas forge can exceed 2300 degrees Fahrenheit, so I have to turn the gas down a lot in order to have control of how hot the forge is. I also have to restrict the amount of air going in to achieve what is known as a "reducing heat" — a fire that is burning more fuel than air. Too much air creates an oxidizing fire that will introduce too much oxygen and contaminate the billet.
A reducing fire helps maintain an atmosphere that is deprived of oxygen and this keeps the metal clean by preventing oxidation. I do this visually and it is hard to explain. Everyone sees colors differently, and describing it as the color of the setting sun or something like that just adds to the confusion. The color of a hot oxidizing fire can be almost white hot. What I am looking for is more of a rich red color in the flames. It is the color of the flames that tell you what is going on in the fire. Every forge is different, and some won’t run as hot or cold as others, so you have to adapt.
In an effort to get a more even heat, I have gone to using heavier torque plates and heavier bolts. My plates are now 3/8 to 1/2 inch thick, and the bolts are 3/8 inch thick. All are mild steel. These larger bolts are stronger and are easier to take apart after the firing. I have used a hydraulic press on occasion to hold the plates and billet together while bolting them, but mostly I just do it by hand. The heavier steel plates also help the heat to soak through the billet more evenly and slowly.
The billet is the same story, you need to read the heat in the billet and the torque plates while it is in the fire. Again, this is done by color. Early in the firing you are mostly looking for a color change within the torque plates. Are they hotter on the top or in the back? Your eyes need to be constantly roving around the billet looking for changes. The billet may need to be turned over or turned to bring the back-side of the billet forward. This is all done with a long set of tongs and heavy gloves. I also wear tinted glasses or sunglasses to watch the fire. This helps prevent eye fatigue and burn spots in your eyes. Just be aware that the type of glasses you wear will also change your perception of the color of the fire. The more experience you have, the more adaptable and fluid you can be with reading and adjusting the fire.
Near the end of the firing there is a shadow that moves across the billet. I can’t explain this exactly, and I don't know why it happens, but it is a sign that the billet is bonding together. The silver in my copper-and-silver billets will also glow white. This is a very subtle change since the fine silver I use is already white. Once this happens the billet is now bonded.
If you miss these signs you will get silver sweat beads on the side of the billet. At this stage you have a liquid silver between the layers of the billet, and you must get it out of the fire immediately. Using your tongs, grab onto the torque plates and bring the billet out. Be sure to hold it level or the silver can actually run out the sides. Now set it on the anvil or a flat level surface and wait a few minutes for it to cool to solid again before you try to work with it any more. This all sounds a little scary, but I have done this hundreds of times and as long as you don’t panic, it will be fine. Working with students, we sometimes have had the copper plates slide on the molten silver. I have, however, been able to use a small piece of wood to slide them back into an even stack. In the words of author Douglas Addams, "Don’t Panic!!" A lot of small problems can be fixed as long as you stay calm and think fast.
I have worked with coal fires where you create a box shape with bricks and a kiln shelf or a steel plate for the top. We actually burned coke and charcoal in the forge to create a clean fire and a reducing atmosphere. Controlling the air flow is critical to the atmosphere so I prefer a hand-crank blower. The other challenge with this type of forge is that you have to be constantly feeding fuel into the fire so you have one more thing that you have to manage. In gas forges they are usually rectangular or round tubes. Most are set up with burners that blast directly on your metal. When I find the time I would like to build a forge that is a little more like a melt furnace where the fire swirls around the interior of the forge. I believe this will give more even heat. I have used so many different forges around the world that I just adapted to what was available — and this expands my skills.
I once had to do a demonstration of firing a mokume billet with a charcoal forge. I had never done this before, so it took me by surprise that they expected me to know how to do this. We were also demonstrating in a tent with the forge outside in the pouring rain. I could not actually see the metal because it was covered with a heavy layer of soot from the fire. Somehow I just knew when it was done. This is the realm where intuition takes over and is the part I love about using the forge. There’s always a risk of failure but the artist's skill is what makes success possible.
When forging a billet in my own shop I can reduce it very quickly. I forge mostly hot and with a power hammer. At workshops we mostly use sledge hammers on hot metal. One of the biggest problems I notice is that new students either don’t hit the billet hard enough, or work it too cold. The metal should be heated to annealing temp and be taken straight to the anvil and worked. As soon as it starts to resist moving, put it back to the fire. In terms of it not being hit hard enough, that is hard to judge. If it is a hard strike, it will tend to spread the whole billet; if it is too soft a blow, it tends to only stretch the outer layers and this can cause stress fractures.
Very little else has changed in the way I work. I have been experimenting with adding heavy 1/2 inch bars of copper on either one side, or in the center of the billet. This is a way to save a little money when I make copper-and-silver billets, or to present a higher layer count on the pattern side of the plate. I would like to experiment more with layering up square wires. I’ve been able to forge out an entire billet to a bar, twist it in a loose twist, and then fuse it to a quarter-inch-thick plate of copper. Then I forged it all down to sheet and formed a vessel from that sheet. In the end, this is all just technique. What matters most is what you make with the material. I love to see what other people have been able to create using mokume gane and the variety and versatility of this metal. The possibilities are endless.
— Robert Coogan


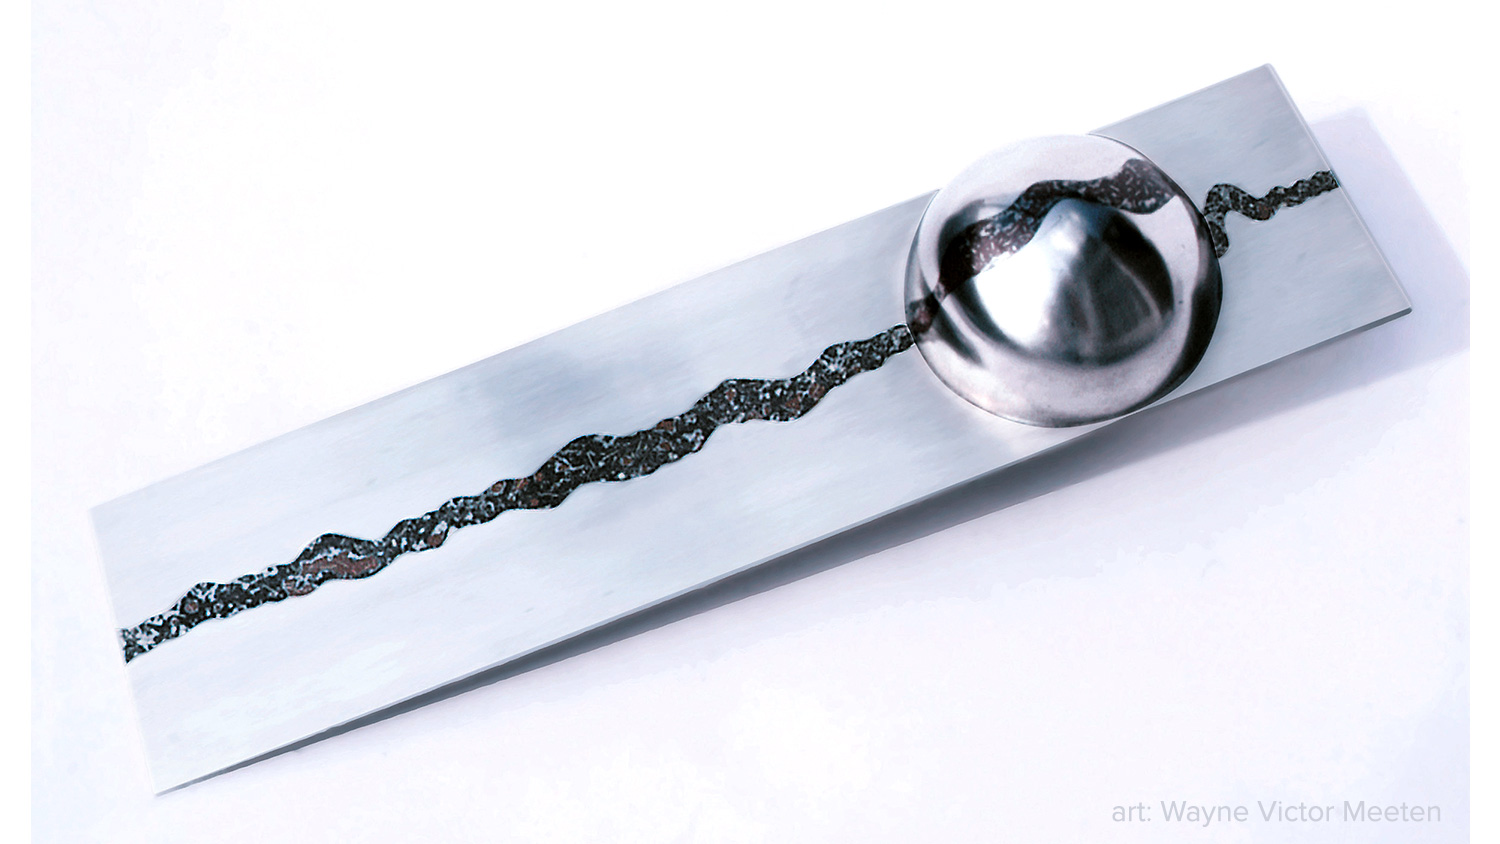
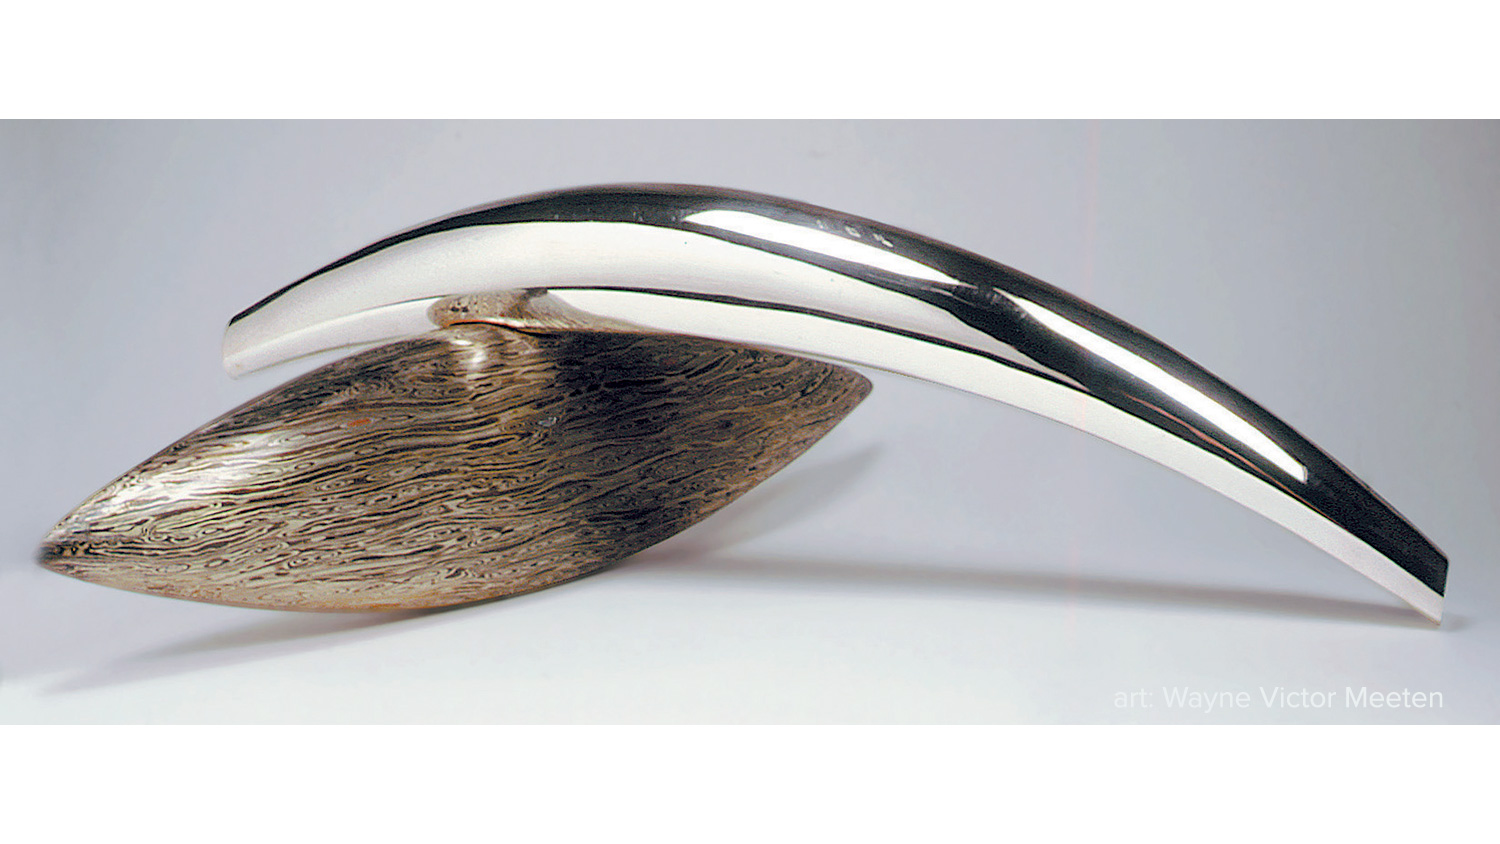
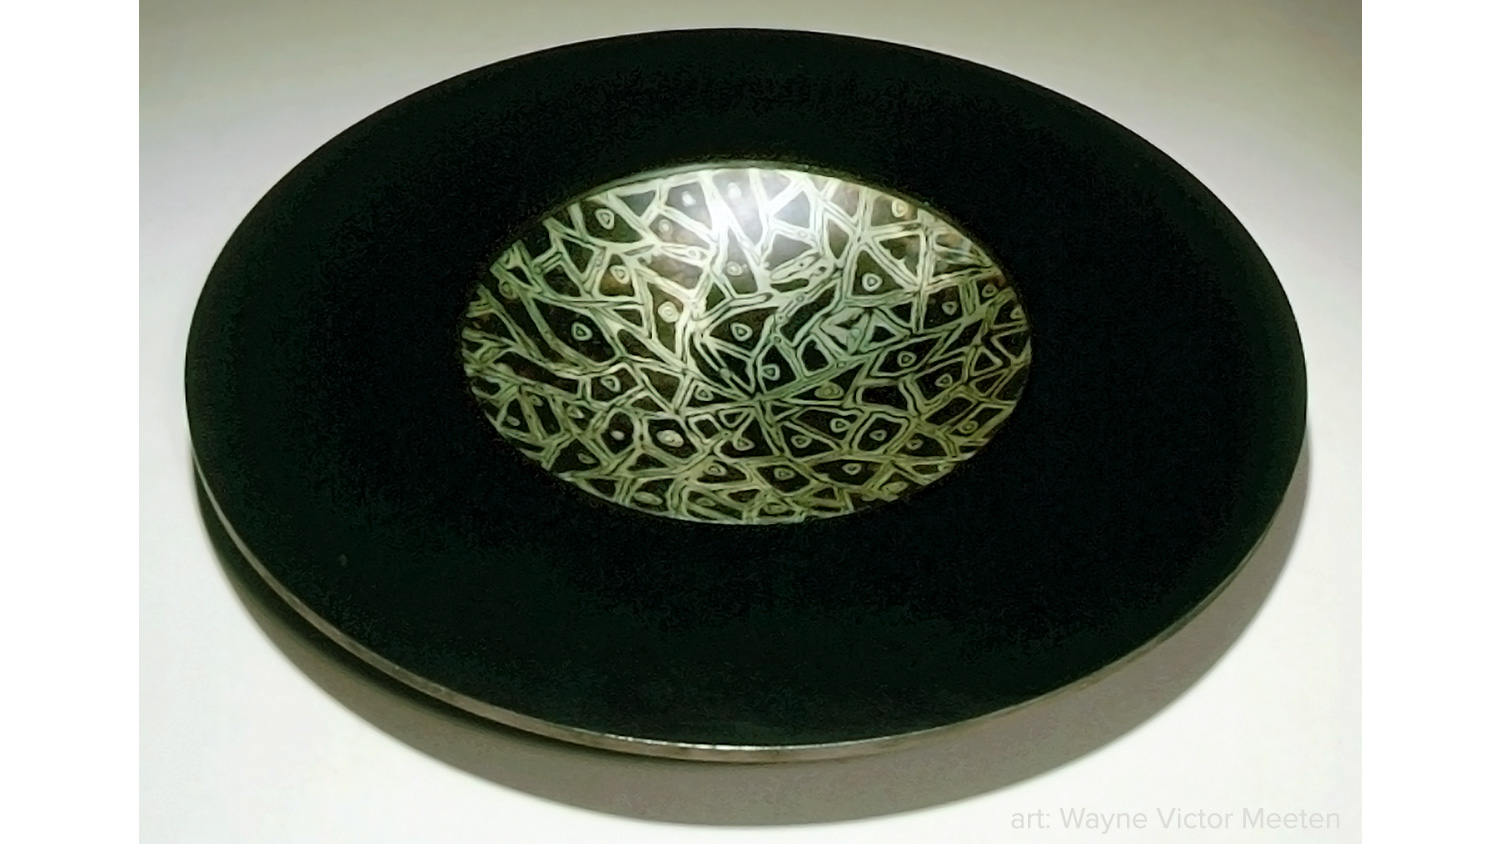
FROM THE BOOK’S GALLERY
©2000-2019 STEVEN JACOB INC. All rights reserved. Copyrighted materials – no portion to be reproduced without written permission from STEVEN JACOB INC.